> For the complete documentation index, see [llms.txt](https://docs.shoplift.ai/llms.txt). Markdown versions of documentation pages are available by appending `.md` to page URLs; this page is available as [Markdown](https://docs.shoplift.ai/test/javascript-api/create-an-api-test.md).
# Create an API Test
{% hint style="info" %}
This article covers basic usage of the JavaScript API. For a full API reference, see [Broken mention](broken://spaces/oHLmrXEftH3xhn1oPwUH/pages/hTGpjUb0Ptx9JVMpjHgt).
{% endhint %}
### Choose your API test type
Before creating your test, decide which trigger type fits your scenario:
* **Automatic trigger**: your code runs automatically on every page for variant visitors. Best for site-wide changes like notification bars, global UI tweaks, or third-party script variations.
* **Manual trigger**: your code only runs when a developer explicitly triggers it. Best for behavior-triggered experiences, third-party integrations, or scenarios where you need control over exactly when and where the test activates.
### Set up an API test
{% stepper %}
{% step %}
### Create a new test
Open Shoplift and click **Create a test** in the top-right corner.
{% endstep %}
{% step %}
### Select your test type
Choose **Create a custom test with our API.**
{% endstep %}
{% step %}
### Select your trigger type
Scroll down to the next section and select **Automatic** or **Manual** depending on your desired behavior.
{% endstep %}
{% step %}
### Note your hypothesis ID
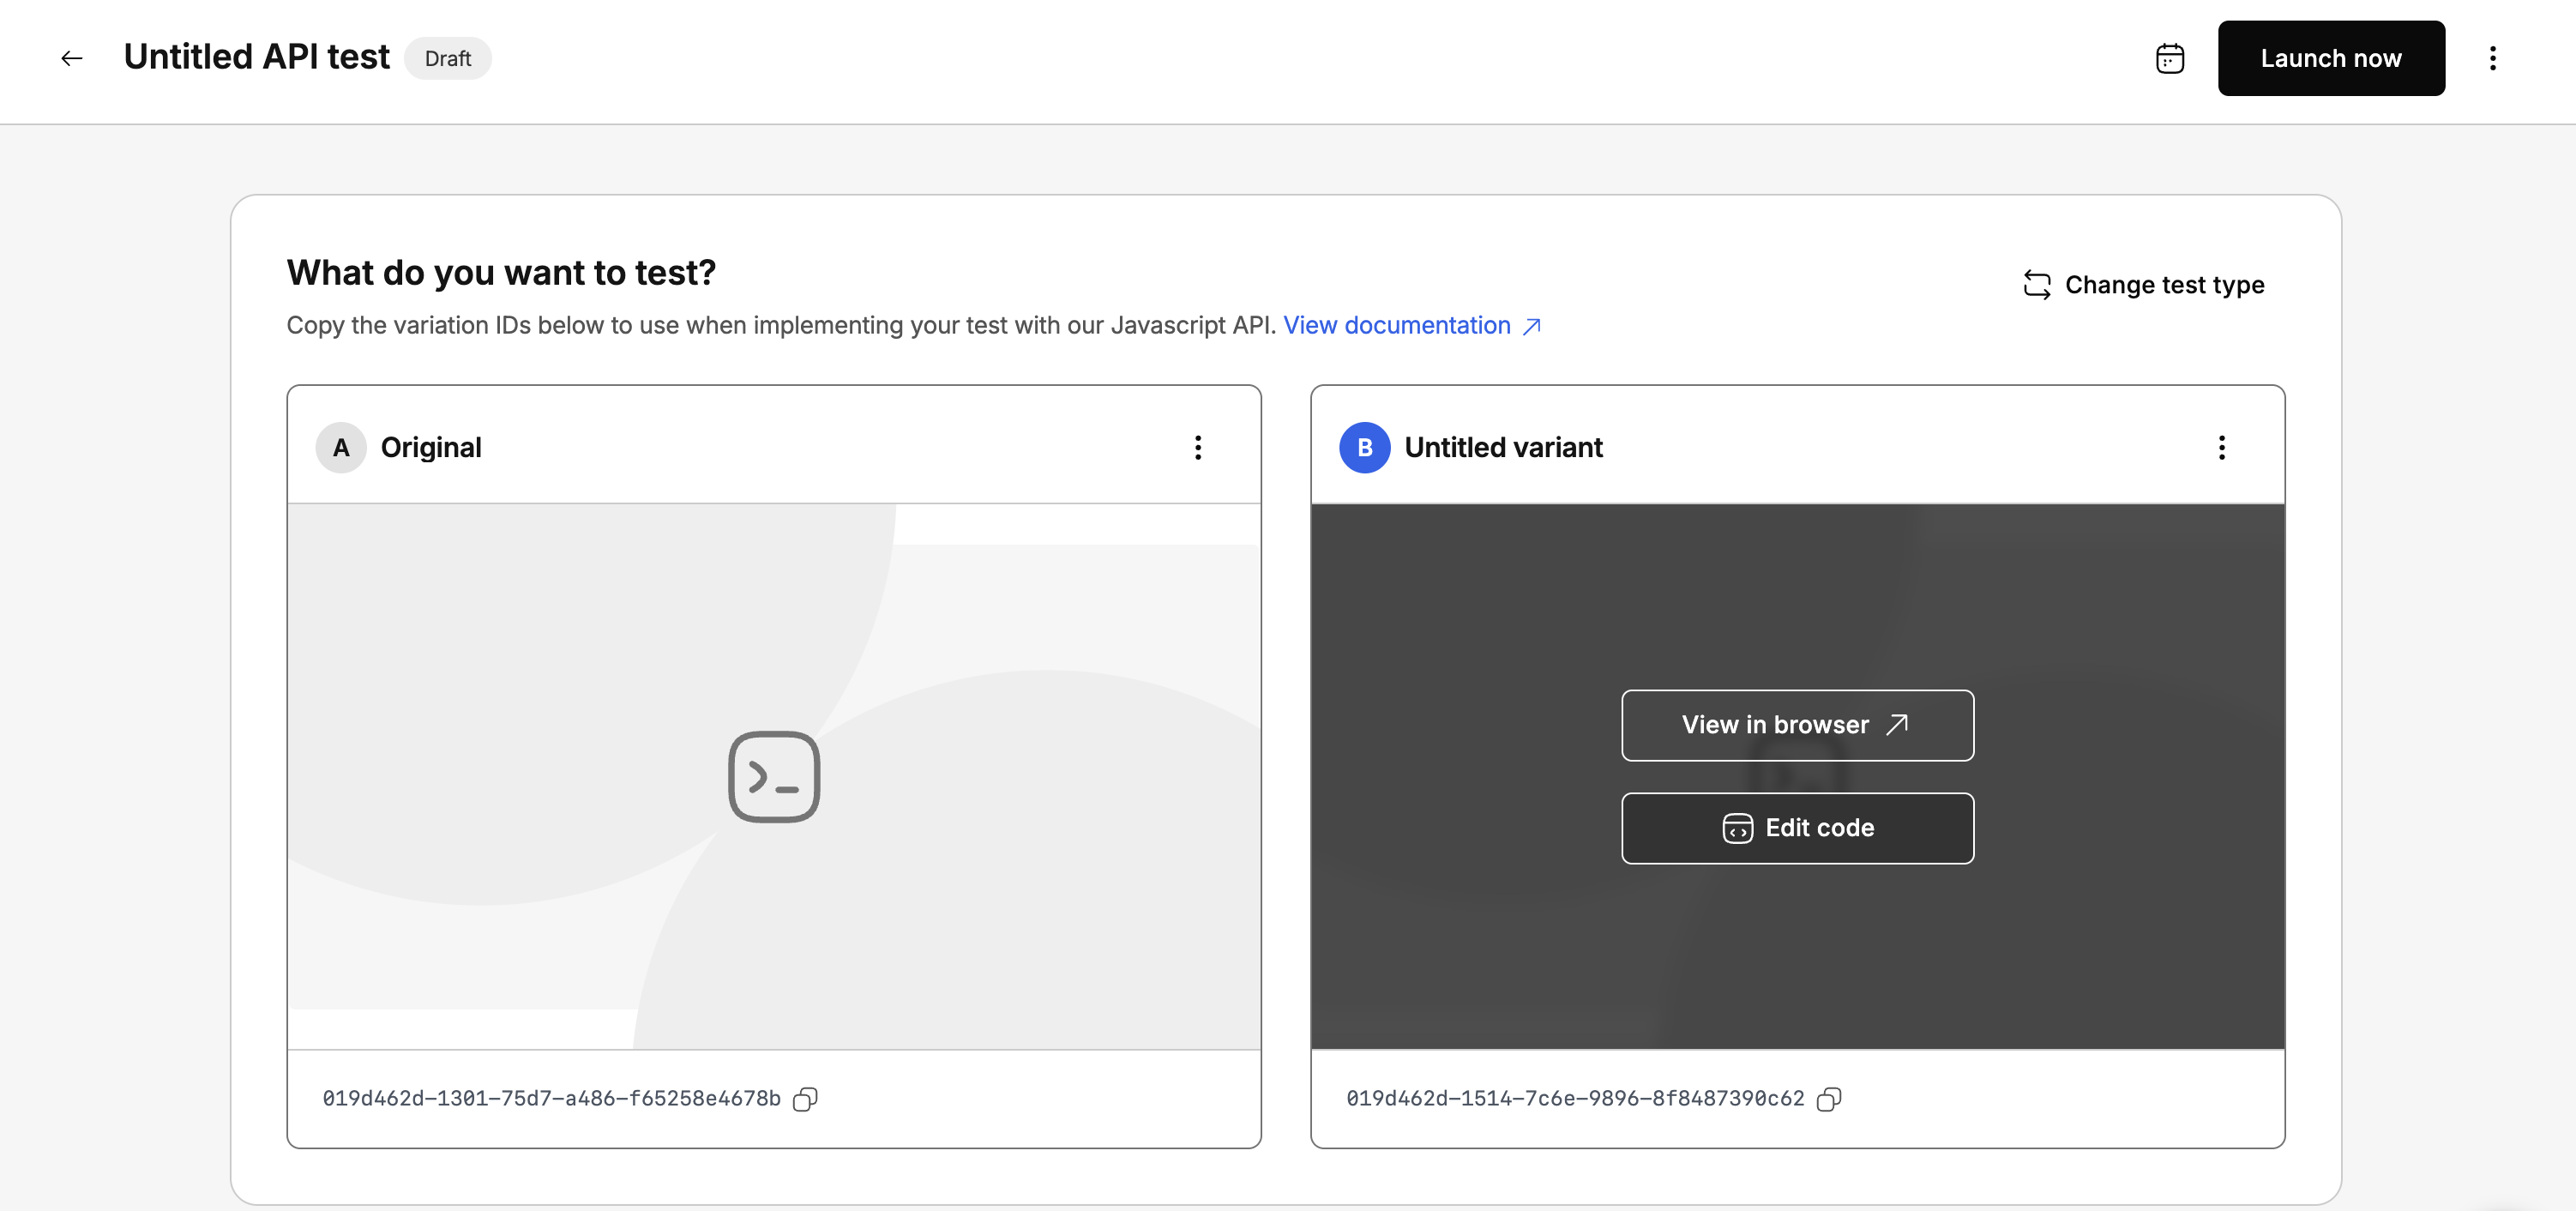
Before writing your code, note your hypothesisId for your variant. This will be needed for triggering the test.
{% endstep %}
{% step %}
### Write your variant code
{% hint style="info" %}
For a full API reference, see [Broken mention](broken://spaces/oHLmrXEftH3xhn1oPwUH/pages/hTGpjUb0Ptx9JVMpjHgt)
{% endhint %}
Hover over the variant card and click Edit Code to open your theme code editor.
Add your custom code to your Shopify theme that calls `isHypothesisActive()` at the right moment.
Here's the basic pattern:
```javascript
// Check if Shoplift is available, then trigger the test
if (window.shoplift) {
const isActive = await window.shoplift.isHypothesisActive('YOUR_HYPOTHESIS_ID');
if (isActive) {
// Variant code runs here — or Shoplift executes the variant
// script you wrote in the Shoplift editor
}
}
```
{% endstep %}
{% step %}
### Configure your test settings
Set the following options before launching:
**Traffic allocation**
Choose what percentage of visitors see each version. A 50/50 split is recommended for most tests, as it reaches statistical significance fastest.
**Goal**
Select the primary metric Shoplift uses to determine a winner. **Revenue per visitor (RPV)** is recommended for most tests because it captures both conversion rate and average order value in a single metric. Other options include conversion rate and add-to-cart rate.
**Hypothesis**
Write a short statement explaining what you expect to happen and why:
> **If** \[specific change you're making], **then** \[expected outcome], **because** \[reason you believe this].
For example: "If we add a free shipping threshold banner to every page, then RPV will increase, because visitors will add more items to their cart to qualify for free shipping."
**Device targeting**
Choose which devices your test runs on: **All devices** (recommended for most tests), **Mobile only**, or **Desktop only**. Use device targeting when your change only applies to one device type.
**Visitor targeting**
Narrow your test to specific visitor segments:
* **All visitors**: recommended for most tests
* **New visitors only**: useful for testing first-impression elements
* **Returning visitors only**: useful for testing loyalty-focused features
{% hint style="info" %}
Visitor targeting is available on Advanced plans and above.
{% endhint %}
**Audience targeting**
For more precise targeting, set rules based on UTM parameters, geographic location, or custom conditions.
{% hint style="info" %}
Audience targeting is available on Advanced plans and above.
{% endhint %}
{% endstep %}
{% step %}
### Preview and launch
Preview your test to verify the variant code works correctly across pages and devices. When you're satisfied, click **Launch test.**
{% endstep %}
{% endstepper %}
### Tips for a successful API test
* **Test your script thoroughly before launch.** Scripts execute with full access to the page's DOM and JavaScript environment. A poorly written script can break product forms, interfere with other scripts, cause layout shifts, or create accessibility issues. Always preview across multiple browsers and devices.
* **Write defensive code.** Check that DOM elements exist before modifying them. Use `try/catch` blocks around operations that might fail. Don't assume page structure will always match what you see during development.
* **Don't modify the same elements as other apps.** If your script targets DOM elements that other Shopify apps also modify, the two can conflict in unpredictable ways. Check for conflicts during preview.
* **Let your test run long enough.** Wait until Shoplift shows statistical significance before making decisions. Most tests need at least 14 days and several thousand visitors per variant.